
diff options
Diffstat (limited to 'docs/guides/step-by-step/step-04.md')
| -rw-r--r-- | docs/guides/step-by-step/step-04.md | 144 |
1 files changed, 144 insertions, 0 deletions
diff --git a/docs/guides/step-by-step/step-04.md b/docs/guides/step-by-step/step-04.md new file mode 100644 index 000000000..0495145f4 --- /dev/null +++ b/docs/guides/step-by-step/step-04.md @@ -0,0 +1,144 @@ +<!-- +title: "Step 4. The basics of configuring Netdata" +date: 2020-03-31 +custom_edit_url: https://github.com/netdata/netdata/edit/master/docs/guides/step-by-step/step-04.md +--> + +# Step 4. The basics of configuring Netdata + +Welcome to the fourth step of the Netdata guide. + +Since the beginning, we've covered the building blocks of Netdata, dashboard basics, and how you can monitor many +individual systems using many distributed Netdata agents. + +Next up: configuration. + +## What you'll learn in this step + +We'll talk about Netdata's default configuration, and then you'll learn how to do the following: + +- [Find your `netdata.conf` file](#find-your-netdataconf-file) +- [Use edit-config to open `netdata.conf`](#use-edit-config-to-open-netdataconf) +- [Navigate the structure of `netdata.conf`](#the-structure-of-netdataconf) +- [Edit your `netdata.conf` file](#edit-your-netdataconf-file) + +## Find your `netdata.conf` file + +Netdata primarily uses the `netdata.conf` file to configure its core functionality. `netdata.conf` resides within your +**Netdata config directory**. + +The location of that directory and `netdata.conf` depends on your operating system and the method you used to install +Netdata. + +The most reliable method of finding your Netdata config directory is loading your `netdata.conf` on your browser. Open a +tab and navigate to `http://HOST:19999/netdata.conf`. Your browser will load a text document that looks like this: + +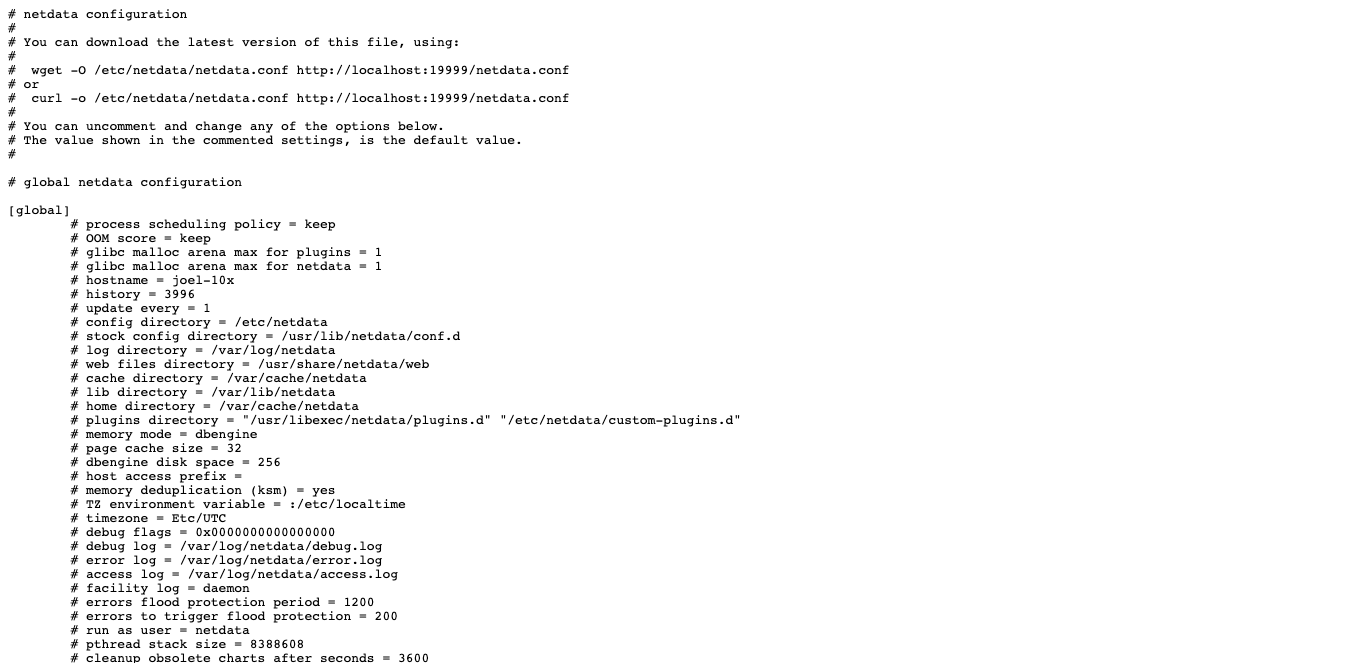 + +Look for the line that begins with `# config directory = `. The text after that will be the path to your Netdata config +directory. + +In the system represented by the screenshot, the line reads: `config directory = /etc/netdata`. That means +`netdata.conf`, and all the other configuration files, can be found at `/etc/netdata`. + +> For more details on where your Netdata config directory is, take a look at our [installation +> instructions](/packaging/installer/README.md). + +For the rest of this guide, we'll assume you're editing files or running scripts from _within_ your **Netdata +configuration directory**. + +## Use edit-config to open `netdata.conf` + +Inside your Netdata config directory, there is a helper scripted called `edit-config`. This script will open existing +Netdata configuration files using a text editor. Or, if the configuration file doesn't yet exist, the script will copy +an example file to your Netdata config directory and then allow you to edit it before saving it. + +> `edit-config` will use the `EDITOR` environment variable on your system to edit the file. On many systems, that is +> defaulted to `vim` or `nano`. We highly recommend `nano` for beginners. To change this variable for the current +> session (it will revert to the default when you reboot), export a new value: `export EDITOR=nano`. Or, [make the +> change permanent](https://stackoverflow.com/questions/13046624/how-to-permanently-export-a-variable-in-linux). + +Let's give it a shot. Navigate to your Netdata config directory. To use `edit-config` on `netdata.conf`, you need to +have permissions to edit the file. On Linux/macOS systems, you can usually use `sudo` to elevate your permissions. + +```bash +cd /etc/netdata # Replace this path with your Netdata config directory, if different as found in the steps above +sudo ./edit-config netdata.conf +``` + +You should now see `netdata.conf` your editor! Let's walk through how the file is structured. + +## The structure of `netdata.conf` + +There are two main parts of the file to note: **sections** and **options**. + +The `netdata.conf` file is broken up into various **sections**, such as `[global]`, `[web]`, and `[registry]`. Each +section contains the configuration options for some core component of Netdata. + +Each section also contains many **options**. Options have a name and a value. With the option `config directory = +/etc/netdata`, `config directory` is the name, and `/etc/netdata` is the value. + +Most lines are **commented**, in that they start with a hash symbol (`#`), and the value is set to a sane default. To +tell Netdata that you'd like to change any option from its default value, you must **uncomment** it by removing that +hash. + +### Edit your `netdata.conf` file + +Let's try editing the options in `netdata.conf` to see how the process works. + +First, add a fake option to show you how Netdata loads its configuration files. Add a `test` option under the `[global]` +section and give it the value of `1`. + +```conf +[global] + test = 1 +``` + +Restart Netdata with `service restart netdata` or the [appropriate +alternative](/docs/getting-started.md#start-stop-and-restart-netdata) for your system. + +Now, open up your browser and navigate to `http://HOST:19999/netdata.conf`. You'll see that Netdata has recognized +that our fake option isn't valid and added a notice that Netdata will ignore it. + +Here's the process in GIF form! + + + +Now, let's make a slightly more substantial edit to `netdata.conf`: change the Agent's name. + +If you edit the value of the `hostname` option, you can change the name of your Netdata Agent on the dashboard and a +handful of other places, like the Visited nodes menu _and_ Netdata Cloud. + +Use `edit-config` to change the `hostname` option to a name like `hello-world`. Be sure to uncomment it! + +```conf +[global] + hostname = hello-world +``` + +Once you're done, restart Netdata and refresh the dashboard. Say hello to your renamed agent! + + + +Netdata has dozens upon dozens of options you can change. To see them all, read our [daemon +configuration](/daemon/config/README.md), or hop into our popular guide on [increasing long-term metrics +storage](/docs/guides/longer-metrics-storage.md). + +## What's next? + +At this point, you should be comfortable with getting to your Netdata directory, opening and editing `netdata.conf`, and +seeing your changes reflected in the dashboard. + +Netdata has many more configuration files that you might want to change, but we'll cover those in the following steps of +this guide. + +In the next step, we're going to cover one of Netdata's core functions: monitoring the health of your systems via alarms +and notifications. You'll learn how to disable alarms, create new ones, and push notifications to the system of your +choosing. + +[Next: Health monitoring alarms and notifications →](step-05.md) + +[](<>) |