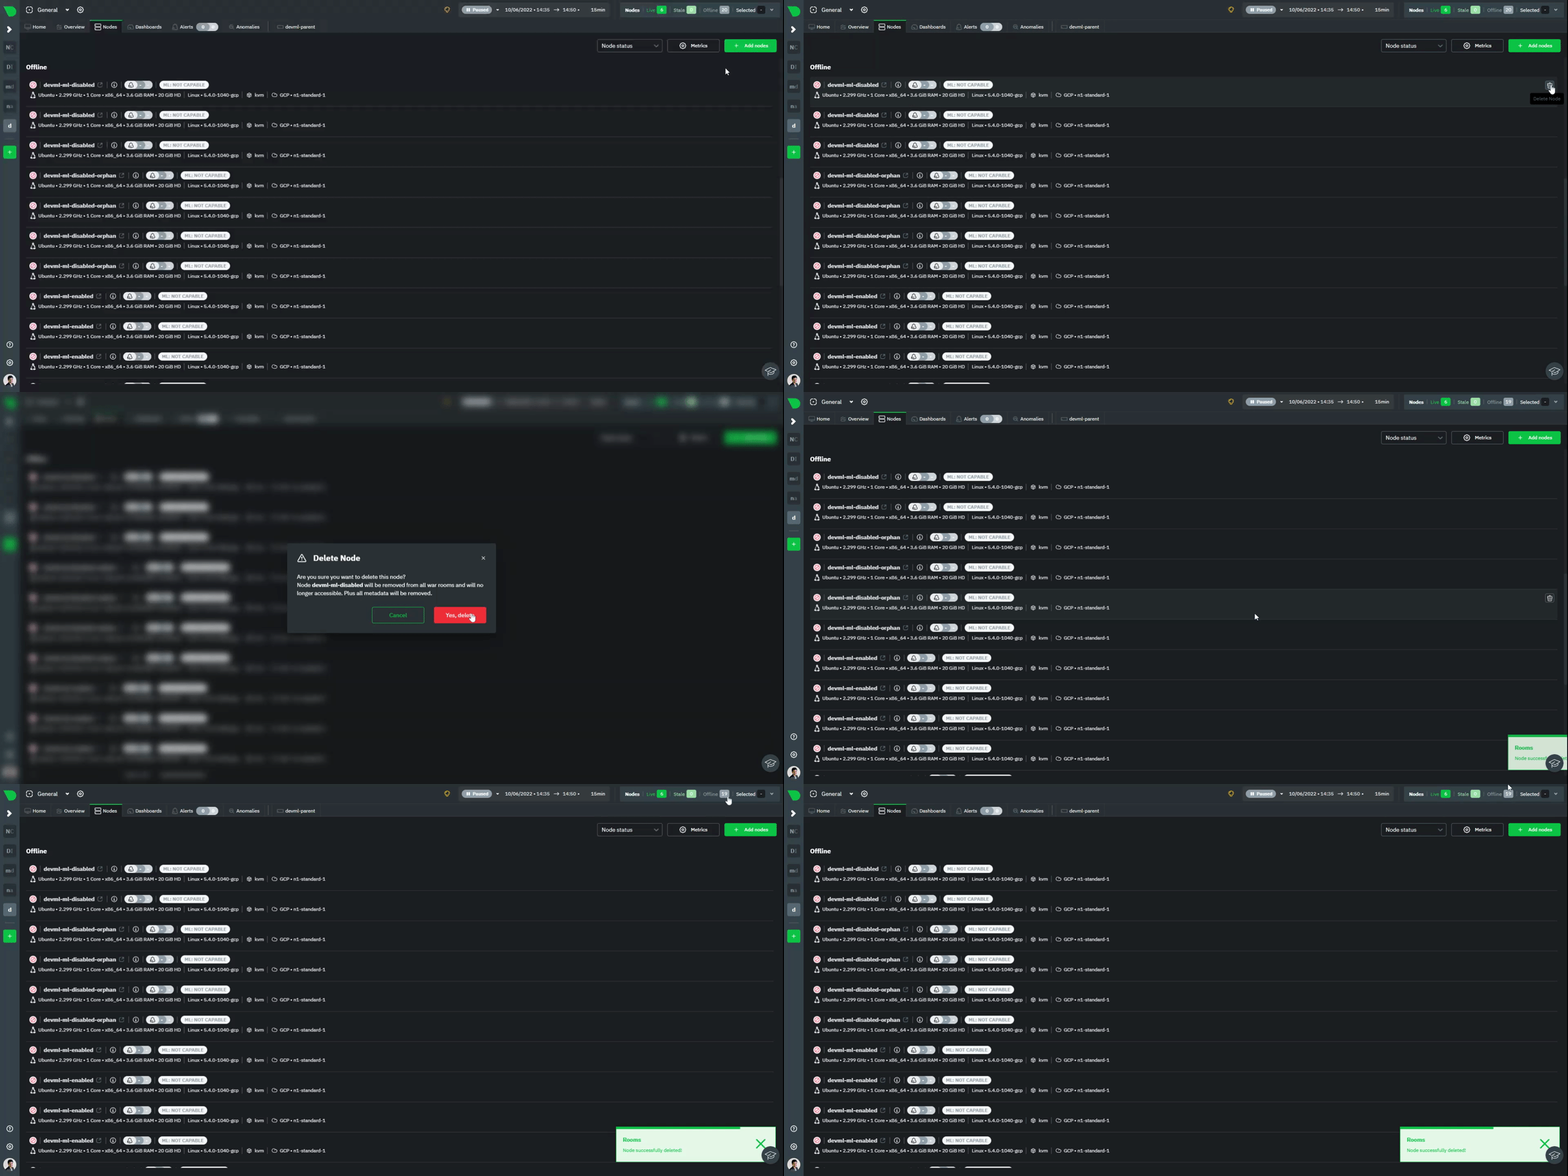
# Netdata Cloud Spaces Organize your multi-organization infrastructure monitoring on Netdata Cloud by creating Spaces to completely isolate access to your Agent-monitored nodes. A Space is a high-level container. It's a collaboration space where you can organize team members, access levels and the nodes you want to monitor. Let's talk through some strategies for creating the most intuitive Cloud experience for your team. ## How to organize your Netdata Cloud You can use any number of Spaces you want, but as you organize your Cloud experience, keep in mind that _you can only add any given node to a single Space_. This 1:1 relationship between node and Space may dictate whether you use one encompassing Space for your entire team and separate them by War Rooms, or use different Spaces for teams monitoring discrete parts of your infrastructure. If you have been invited to Netdata Cloud by another user by default you will able to see this space. If you are a new user the first space is already created. The other consideration for the number of Spaces you use to organize your Netdata Cloud experience is the size and complexity of your organization. For small team and infrastructures we recommend sticking to a single Space so that you can keep all your nodes and their respective metrics in one place. You can then use multiple [War Rooms](https://github.com/netdata/netdata/blob/master/docs/cloud/war-rooms.md) to further organize your infrastructure monitoring. Enterprises may want to create multiple Spaces for each of their larger teams, particularly if those teams have different responsibilities or parts of the overall infrastructure to monitor. For example, you might have one SRE team for your user-facing SaaS application and a second team for infrastructure tooling. If they don't need to monitor the same nodes, you can create separate Spaces for each team. ## Navigate between spaces Click on any of the boxes to switch between available Spaces. Netdata Cloud abbreviates each Space to the first letter of the name, or the first two letters if the name is two words or more. Hover over each icon to see the full name in a tooltip. To add a new Space click on the green **+** button . Enter the name of the Space and click **Save**.  ## Manage Spaces Manage your spaces by selecting in a particular space and clicking in the small gear icon in the lower left corner. This will open a side tab in which you can: 1. _Configure this Space*_, in the first tab (**Space**) you can change the name, description or/and some privilege options of this space 2. _Edit the War Rooms*_, click on the **War rooms** tab to add or remove War Rooms. 3. _Connect nodes*_, click on **Nodes** tab. Copy the claiming script to your node and run it. See the [connect to Cloud doc](https://github.com/netdata/netdata/blob/master/claim/README.md) for details. 4. _Manage the users*_, click on **Users**. The [invitation doc](https://github.com/netdata/netdata/blob/master/docs/cloud/manage/invite-your-team.md) details the invitation process. 5. _Manage notification setting*_, click on **Notifications** tab to turn off/on notification methods. 6. _Manage your bookmarks*_, click on the **Bookmarks** tab to add or remove bookmarks that you need. > ### Note > > \* This action requires admin rights for this space ## Obsoleting offline nodes from a Space Netdata admin users now have the ability to remove obsolete nodes from a space. - Only admin users have the ability to obsolete nodes - Only offline nodes can be marked obsolete (Live nodes and stale nodes cannot be obsoleted) - Node obsoletion works across the entire space, so the obsoleted node will be removed from all rooms belonging to the space - If the obsoleted nodes eventually become live or online once more they will be automatically re-added to the space 