1
2
3
4
5
6
7
8
9
10
11
12
13
14
15
16
17
18
19
20
21
22
23
24
25
26
27
28
29
30
31
32
33
34
35
36
37
38
39
40
41
42
43
44
45
46
47
48
49
50
51
52
53
54
55
56
57
58
59
60
61
62
63
64
65
66
67
68
69
70
71
72
73
74
75
76
77
78
79
80
81
82
83
84
85
86
87
88
89
90
91
92
93
94
95
96
97
98
99
100
101
102
103
104
105
106
107
108
109
110
111
112
113
114
115
116
117
118
119
120
121
122
123
124
125
126
127
128
129
130
131
132
133
134
135
136
137
138
139
140
141
142
143
144
145
146
147
148
149
150
151
152
153
154
155
156
157
158
159
160
161
162
163
164
165
166
167
168
169
|
# Organize Your Infrastructure and Invite your Team
Netdata Cloud provides you with features such as [Spaces](#netdata-cloud-spaces) and [War Rooms](#netdata-cloud-war-rooms) that allow you to better organize your infrastructure and ensure your team can also have access to it through invites.
## Netdata Cloud Spaces
Organize your multi-organization infrastructure monitoring on Netdata Cloud by creating Spaces to completely isolate access to your Agent-monitored nodes.
A Space is a high-level container. It's a collaboration space where you can organize team members, access levels and the
nodes you want to monitor.
Let's talk through some strategies for creating the most intuitive Cloud experience for your team.
### How to organize your Netdata Cloud
You can use any number of Spaces you want, but as you organize your Cloud experience, keep in mind that _you can only
add any given node to a single Space_. This 1:1 relationship between node and Space may dictate whether you use one
encompassing Space for your entire team and separate them by War Rooms, or use different Spaces for teams monitoring
discrete parts of your infrastructure.
If you have been invited to Netdata Cloud by another user by default you will able to see that space. If you are a new
user the first space is already created.
The other consideration for the number of Spaces you use to organize your Netdata Cloud experience is the size and
complexity of your organization.
For smaller teams and infrastructures, we recommend sticking to a single Space so that you can keep all your nodes and their
respective metrics in one place. You can then use
multiple [War Rooms](#netdata-cloud-war-rooms)
to further organize your infrastructure monitoring.
Enterprises may want to create multiple Spaces for each of their larger teams, particularly if those teams have
different responsibilities or parts of the overall infrastructure to monitor. For example, you might have one SRE team
for your user-facing SaaS application and a second team for infrastructure tooling. If they don't need to monitor the
same nodes, you can create separate Spaces for each team.
### Navigate between spaces
Click on any of the boxes to switch between available Spaces.
Netdata Cloud abbreviates each Space to the first letter of the name, or the first two letters if the name is two words
or more. Hover over each icon to see the full name in a tooltip.
To add a new Space click on the green **+** button. Enter the name of the Space and click **Save**.

### Manage Spaces
Manage your spaces by selecting a particular space and clicking on the small gear icon in the lower left corner. This
will open a side tab in which you can:
1. _Configure this Space*_, in the first tab (**Space**) you can change the name, description or/and some privilege
options of this space
2. _Edit the War Rooms*_, click on the **War rooms** tab to add or remove War Rooms.
3. _Connect nodes*_, click on **Nodes** tab. Copy the claiming script to your node and run it. See the
[connect to Cloud doc](https://github.com/netdata/netdata/blob/master/claim/README.md) for details.
4. _Manage the users*_, click on **Users**.
The [invitation doc](#invite-your-team)
details the invitation process.
5. _Manage notification setting*_, click on **Notifications** tab to turn off/on notification methods.
6. _Manage your bookmarks*_, click on the **Bookmarks** tab to add or remove bookmarks that you need.
> #### Note
>
> \* This action requires admin rights for this space
### Obsoleting offline nodes from a Space
Netdata admin users now have the ability to remove obsolete nodes from a space.
- Only admin users have the ability to obsolete nodes
- Only offline nodes can be marked obsolete (Live nodes and stale nodes cannot be obsoleted)
- Node obsoletion works across the entire space, so the obsoleted node will be removed from all rooms belonging to the
space
- If the obsoleted nodes eventually become live or online once more they will be automatically re-added to the space
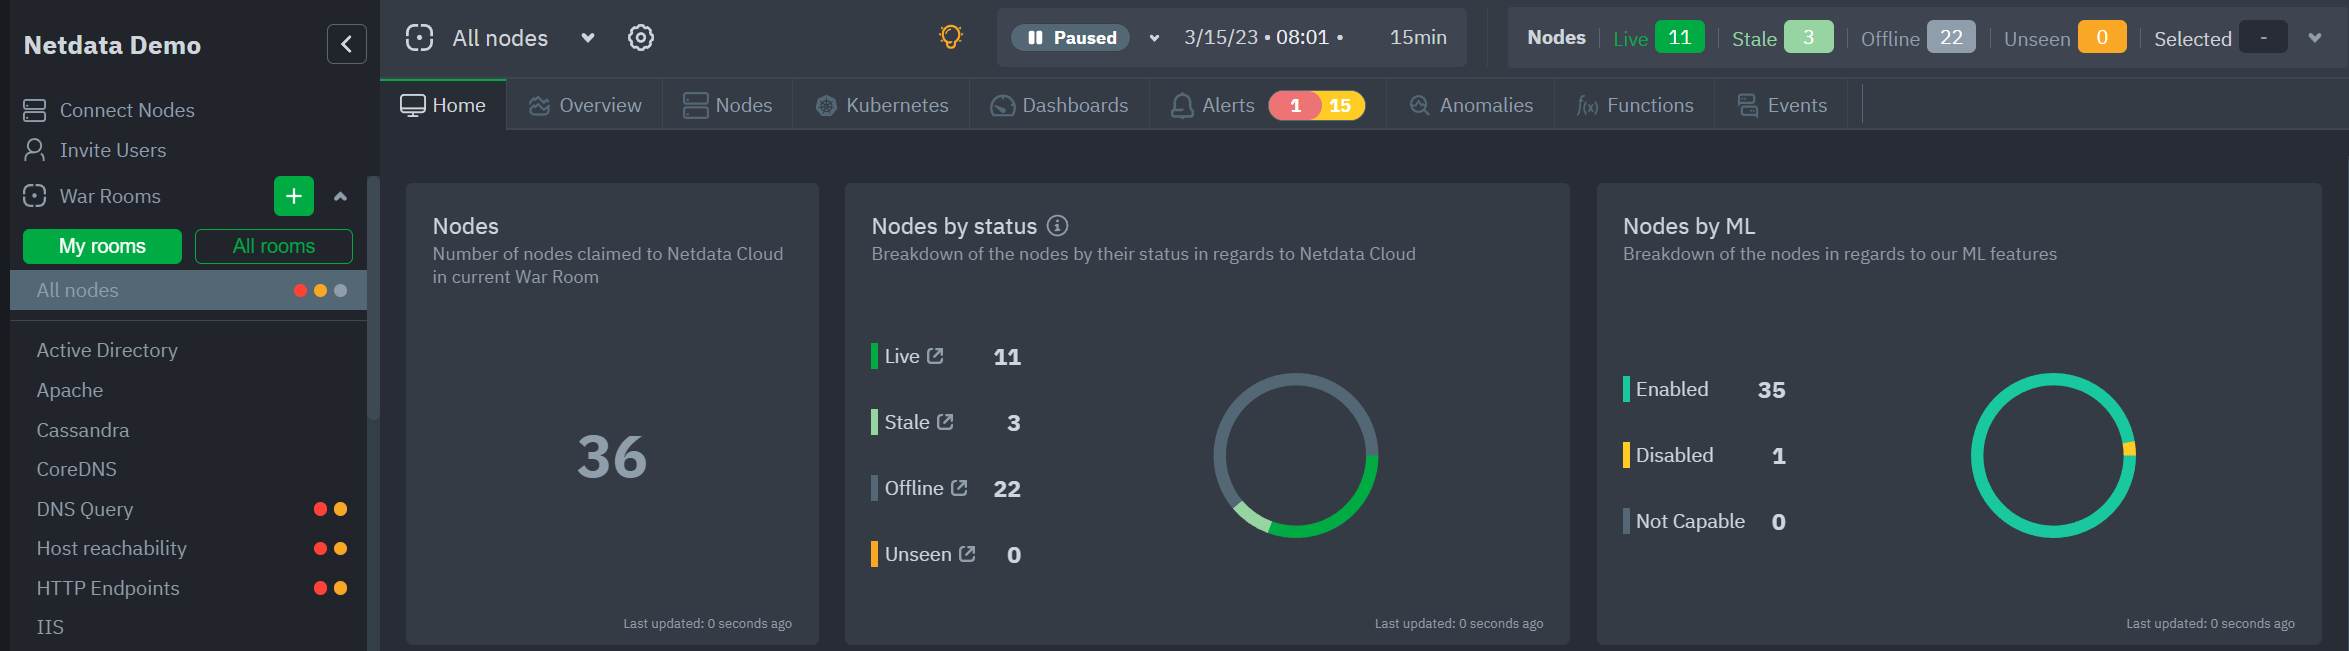
## Netdata Cloud War rooms
Netdata Cloud uses War Rooms to organize your connected nodes and provide infrastructure-wide dashboards using real-time metrics and visualizations.
Once you add nodes to a Space, all of your nodes will be visible in the **All nodes** War Room. This is a special War Room
which gives you an overview of all of your nodes in this particular Space. Then you can create functional separations of
your nodes into more War Rooms. Every War Room has its own dashboards, navigation, indicators, and management tools.
### War Room organization
We recommend a few strategies for organizing your War Rooms.
- **Service, purpose, location, etc.**
You can group War Rooms by a service (Nginx, MySQL, Pulsar, and so on), their purpose (webserver, database, application), their physical location, whether they're "bare metal" or a Docker container, the PaaS/cloud provider it runs on, and much more.
This allows you to see entire slices of your infrastructure by moving from one War Room to another.
- **End-to-end apps/services**
If you have a user-facing SaaS product, or an internal service that this said product relies on, you may want to monitor that entire stack in a single War Room. This might include Kubernetes clusters, Docker containers, proxies, databases, web servers, brokers, and more.
End-to-end War Rooms are valuable tools for ensuring the health and performance of your organization's essential services.
- **Incident response**
You can also create new War Rooms as one of the first steps in your incident response process.
For example, you have a user-facing web app that relies on Apache Pulsar for a message queue, and one of your nodes using the [Pulsar collector](https://github.com/netdata/go.d.plugin/blob/master/modules/pulsar/README.md) begins reporting a suspiciously low messages rate.
You can create a War Room called `$year-$month-$day-pulsar-rate`, add all your Pulsar nodes in addition to nodes they connect to, and begin diagnosing the root cause in a War Room optimized for getting to resolution as fast as possible.
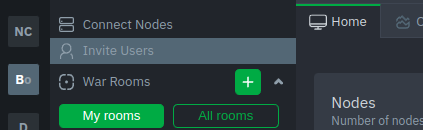
### Add War Rooms
To add new War Rooms to any Space, click on the green plus icon **+** next to the **War Rooms** heading on the left (Space's) sidebar.
In the panel, give the War Room a name and description, and choose whether it's public or private.
Anyone in your Space can join public War Rooms, but can only join private War Rooms with an invitation.
### Manage War Rooms
All the users and nodes involved in a particular Space can be part of a War Room.
Any user can change simple settings of a War room, like the name or the users participating in it.
Click on the gear icon of the War Room's name in the top of the page to do that. A sidebar will open with options for this War Room:
1. To **change a War Room's name, description, or public/private status**, click on **War Room** tab.
2. To **include an existing node** to a War Room or **connect a new node\*** click on **Nodes** tab. Choose any connected node you want to add to this War Room by clicking on the checkbox next to its hostname, then click **+ Add** at the top of the panel.
3. To **add existing users to a War Room**, click on **Add Users**.
See our [invite doc](#invite-your-team.md) for details on inviting new users to your Space in Netdata Cloud.
> #### Note
>
>\* This action requires **admin** rights for this Space
#### More actions
To **view or remove nodes** in a War Room, click on the **Nodes tab**. To remove a node from the current War Room, click on
the **🗑** icon.
> #### Info
>
> Removing a node from a War Room does not remove it from your Space.
## Invite your team
Invite your entire SRE, DevOPs, or ITOps team to Netdata Cloud, to give everyone insights into your infrastructure from a single pane of glass.
Invite new users to your Space by clicking on **Invite Users** in
the [Space](#netdata-cloud-spaces) management area.
You will be prompted to enter the email addresses of the users you want to invite to your Space. You can enter any number of email addresses, separated by a comma, to send multiple invitations at once.
Next, choose the War Rooms you want to invite these users to. Once logged in, these users are not restricted only to
these War Rooms. They can be invited to others, or join any that are public.
Next, pick a role for the invited user. You can read more about [which roles are available](https://github.com/netdata/netdata/blob/master/docs/cloud/manage/role-based-access.md#what-roles-are-available) based on your [subscription plan](https://github.com/netdata/netdata/blob/master/docs/cloud/manage/plans.md).
Click the **Send** button to send an email invitation, which will prompt them
to [sign up](https://github.com/netdata/netdata/blob/master/docs/cloud/manage/sign-in.md) and join your Space.
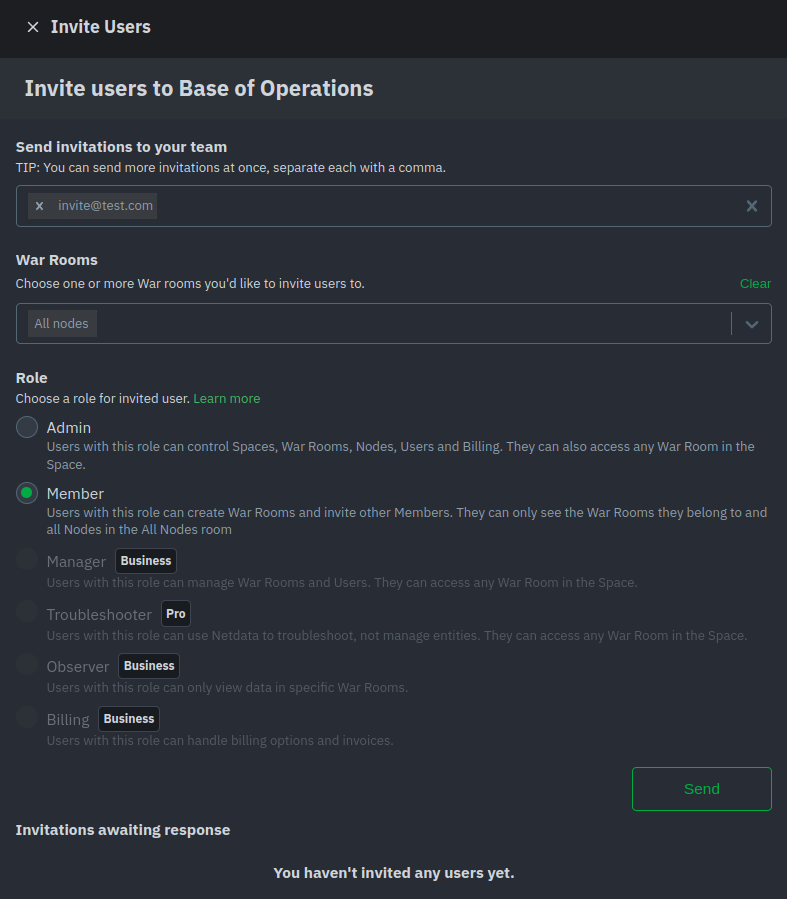
Any unaccepted invitations remain under **Invitations awaiting response**. These invitations can be rescinded at any
time by clicking the trash can icon.
|
