
diff options
Diffstat (limited to 'docs/guides/monitor/pi-hole-raspberry-pi.md')
| -rw-r--r-- | docs/guides/monitor/pi-hole-raspberry-pi.md | 26 |
1 files changed, 13 insertions, 13 deletions
diff --git a/docs/guides/monitor/pi-hole-raspberry-pi.md b/docs/guides/monitor/pi-hole-raspberry-pi.md index 1246d8ba..5099d12b 100644 --- a/docs/guides/monitor/pi-hole-raspberry-pi.md +++ b/docs/guides/monitor/pi-hole-raspberry-pi.md @@ -79,7 +79,7 @@ service](https://discourse.pi-hole.net/t/how-do-i-configure-my-devices-to-use-pi finished setting up Pi-hole at this point. As far as configuring Netdata to monitor Pi-hole metrics, there's nothing you actually need to do. Netdata's [Pi-hole -collector](https://learn.netdata.cloud/docs/agent/collectors/go.d.plugin/modules/pihole) will autodetect the new service +collector](https://github.com/netdata/go.d.plugin/blob/master/modules/pihole/README.md) will autodetect the new service running on your Raspberry Pi and immediately start collecting metrics every second. Restart Netdata with `sudo systemctl restart netdata`, which will then recognize that Pi-hole is running and start a @@ -98,15 +98,15 @@ part of your system might affect another. 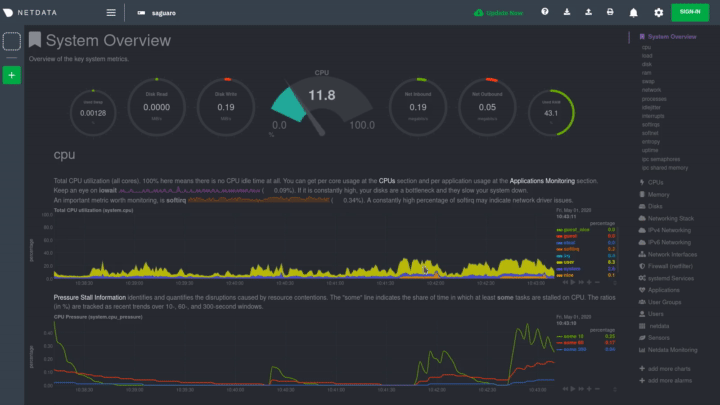 -If you're completely new to Netdata, look at our [step-by-step guide](/docs/guides/step-by-step/step-00.md) for a -walkthrough of all its features. For a more expedited tour, see the [get started guide](/docs/get-started.mdx). +If you're completely new to Netdata, look at our [step-by-step guide](https://github.com/netdata/netdata/blob/master/docs/guides/step-by-step/step-00.md) for a +walkthrough of all its features. For a more expedited tour, see the [get started guide](https://github.com/netdata/netdata/blob/master/docs/get-started.mdx). ### Enable temperature sensor monitoring You need to manually enable Netdata's built-in [temperature sensor -collector](https://learn.netdata.cloud/docs/agent/collectors/charts.d.plugin/sensors) to start collecting metrics. +collector](https://github.com/netdata/netdata/blob/master/collectors/charts.d.plugin/sensors/README.md) to start collecting metrics. -> Netdata uses a few plugins to manage its [collectors](/collectors/REFERENCE.md), each using a different language: Go, +> Netdata uses a few plugins to manage its [collectors](https://github.com/netdata/netdata/blob/master/collectors/REFERENCE.md), each using a different language: Go, > Python, Node.js, and Bash. While our Go collectors are undergoing the most active development, we still support the > other languages. In this case, you need to enable a temperature sensor collector that's written in Bash. @@ -124,7 +124,7 @@ Raspberry Pi temperature sensor monitoring. ### Storing historical metrics on your Raspberry Pi By default, Netdata allocates 256 MiB in disk space to store historical metrics inside the [database -engine](/database/engine/README.md). On the Raspberry Pi used for this guide, Netdata collects 1,500 metrics every +engine](https://github.com/netdata/netdata/blob/master/database/engine/README.md). On the Raspberry Pi used for this guide, Netdata collects 1,500 metrics every second, which equates to storing 3.5 days worth of historical metrics. You can increase this allocation by editing `netdata.conf` and increasing the `dbengine multihost disk space` setting to @@ -136,8 +136,8 @@ more than 256. ``` Use our [database sizing -calculator](/docs/store/change-metrics-storage.md#calculate-the-system-resources-ram-disk-space-needed-to-store-metrics) -and [guide on storing historical metrics](/docs/guides/longer-metrics-storage.md) to help you determine the right +calculator](https://github.com/netdata/netdata/blob/master/docs/store/change-metrics-storage.md#calculate-the-system-resources-ram-disk-space-needed-to-store-metrics) +and [guide on storing historical metrics](https://github.com/netdata/netdata/blob/master/docs/guides/longer-metrics-storage.md) to help you determine the right setting for your Raspberry Pi. ## What's next? @@ -146,12 +146,12 @@ Now that you're monitoring Pi-hole and your Raspberry Pi with Netdata, you can e configure Netdata to more specific goals. Most importantly, you can always install additional services and instantly collect metrics from many of them with our -[300+ integrations](/collectors/COLLECTORS.md). +[300+ integrations](https://github.com/netdata/netdata/blob/master/collectors/COLLECTORS.md). -- [Optimize performance](/docs/guides/configure/performance.md) using tweaks developed for IoT devices. -- [Stream Raspberry Pi metrics](/streaming/README.md) to a parent host for easy access or longer-term storage. -- [Tweak alarms](/health/QUICKSTART.md) for either Pi-hole or the health of your Raspberry Pi. -- [Export metrics to external databases](/exporting/README.md) with the exporting engine. +- [Optimize performance](https://github.com/netdata/netdata/blob/master/docs/guides/configure/performance.md) using tweaks developed for IoT devices. +- [Stream Raspberry Pi metrics](https://github.com/netdata/netdata/blob/master/streaming/README.md) to a parent host for easy access or longer-term storage. +- [Tweak alarms](https://github.com/netdata/netdata/blob/master/health/QUICKSTART.md) for either Pi-hole or the health of your Raspberry Pi. +- [Export metrics to external databases](https://github.com/netdata/netdata/blob/master/exporting/README.md) with the exporting engine. Or, head over to [our guides](https://learn.netdata.cloud/guides/) for even more experiments and insights into troubleshooting the health of your systems and services. |