
diff options
Diffstat (limited to 'health/notifications/alerta/README.md')
| -rw-r--r-- | health/notifications/alerta/README.md | 118 |
1 files changed, 54 insertions, 64 deletions
diff --git a/health/notifications/alerta/README.md b/health/notifications/alerta/README.md index 5ecf55ee..237b9a78 100644 --- a/health/notifications/alerta/README.md +++ b/health/notifications/alerta/README.md @@ -1,86 +1,76 @@ -<!-- -title: "alerta.io" -sidebar_label: "Alerta" -description: "Send alarm notifications to Alerta to see the latest health status updates from multiple nodes in a single interface." -custom_edit_url: "https://github.com/netdata/netdata/edit/master/health/notifications/alerta/README.md" -learn_status: "Published" -learn_topic_type: "Tasks" -learn_rel_path: "Setup/Notification/Agent" -learn_autogeneration_metadata: "{'part_of_cloud': False, 'part_of_agent': True}" ---> +# Alerta Agent alert notifications -# alerta.io +Learn how to send notifications to Alerta using Netdata's Agent alert notification feature, which supports dozens of endpoints, user roles, and more. -The [Alerta](https://alerta.io) monitoring system is a tool used to -consolidate and de-duplicate alerts from multiple sources for quick -‘at-a-glance’ visualisation. With just one system you can monitor -alerts from many other monitoring tools on a single screen. +> ### Note +> +> This file assumes you have read the [Introduction to Agent alert notifications](https://github.com/netdata/netdata/blob/master/health/notifications/README.md), detailing how the Netdata Agent's alert notification method works. - +The [Alerta](https://alerta.io) monitoring system is a tool used to consolidate and de-duplicate alerts from multiple sources for quick ‘at-a-glance’ visualization. +With just one system you can monitor alerts from many other monitoring tools on a single screen. -Alerta's advantage is the main view, where you can see all active alarms with the most recent state. You can also view an alert history. You can send Netdata alerts to Alerta to see alerts coming from many Netdata hosts or also from a multi-host -Netdata configuration. +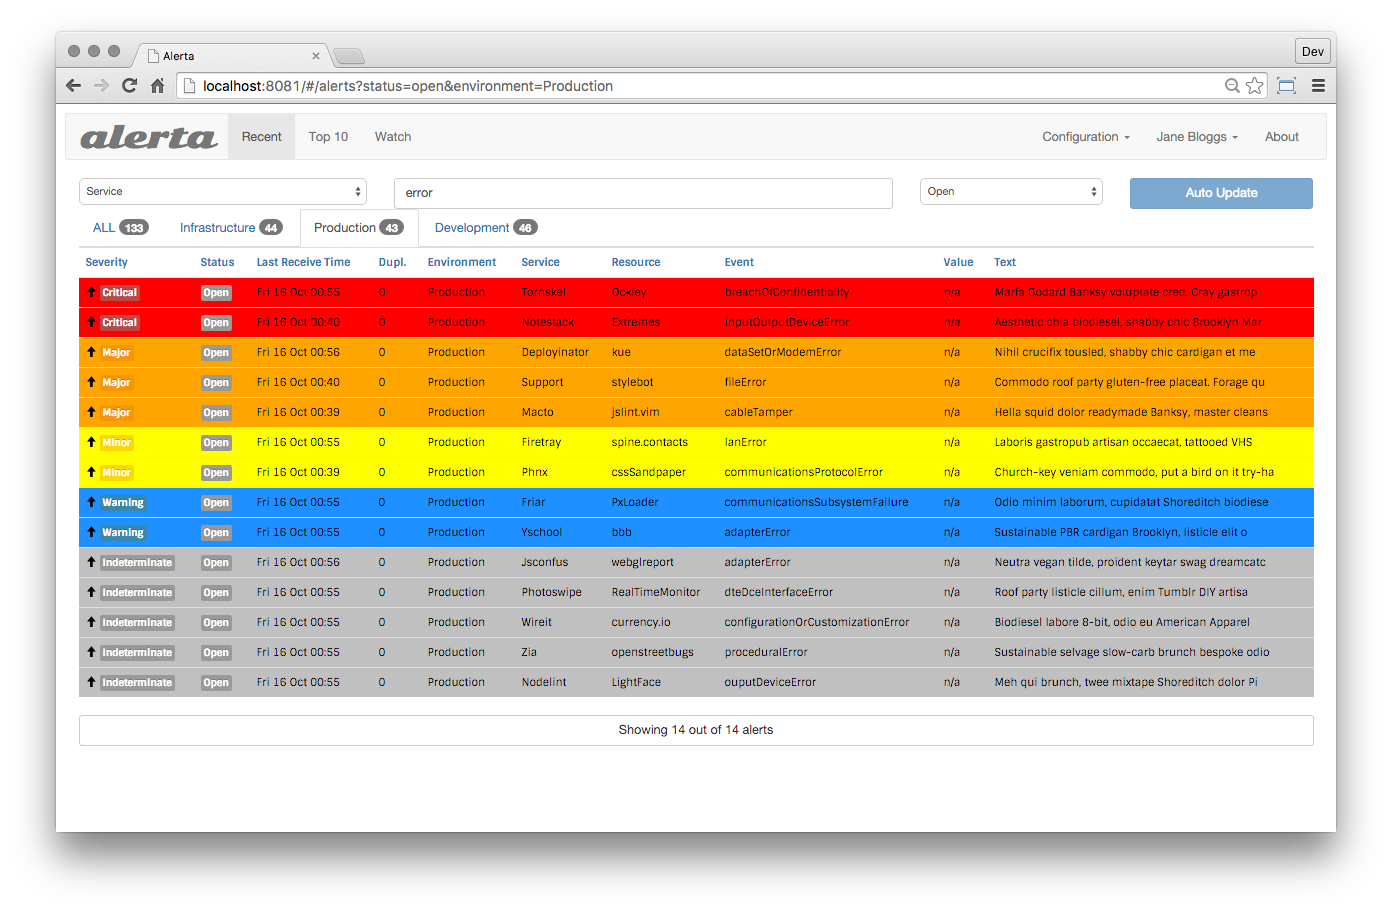 -## Deploying Alerta +Alerta's advantage is the main view, where you can see all active alert with the most recent state. +You can also view an alert history. -The recommended setup is using a dedicated server, VM or container. If you have other NGINX or Apache servers in your organization, -it is recommended to proxy to this new server. +You can send Netdata alerts to Alerta to see alerts coming from many Netdata hosts or also from a multi-host Netdata configuration. -You can install Alerta in several ways: -- **Docker**: Alerta provides a [Docker image](https://hub.docker.com/r/alerta/alerta-web/) to get you started quickly. -- **Deployment on Ubuntu server**: Alerta's [getting started tutorial](https://docs.alerta.io/gettingstarted/tutorial-1-deploy-alerta.html) walks you through this process. -- **Advanced deployment scenarios**: More ways to install and deploy Alerta are documented on the [Alerta docs](http://docs.alerta.io/en/latest/deployment.html). +## Prerequisites -## Sending alerts to Alerta +You need: -### Step 1. Create an API key (if authentication in Alerta is enabled) +- an Alerta instance +- an Alerta API key (if authentication in Alerta is enabled) +- terminal access to the Agent you wish to configure -You will need an API key to send messages from any source, if -Alerta is configured to use authentication (recommended). +## Configure Netdata to send alert notifications to Alerta -Create a new API key in Alerta: -1. Go to *Configuration* > *API Keys* -2. Create a new API key called "netdata" with `write:alerts` permission. +> ### Info +> +> This file mentions editing configuration files. +> +> - To edit configuration files in a safe way, we provide the [`edit config` script](https://github.com/netdata/netdata/blob/master/docs/configure/nodes.md#use-edit-config-to-edit-configuration-files) located in your [Netdata config directory](https://github.com/netdata/netdata/blob/master/docs/configure/nodes.md#the-netdata-config-directory) (typically is `/etc/netdata`) that creates the proper file and opens it in an editor automatically. +> Note that to run the script you need to be inside your Netdata config directory. +> +> It is recommended to use this way for configuring Netdata. -### Step 2. Configure Netdata to send alerts to Alerta -1. Edit the `health_alarm_notify.conf` by running: -```sh -/etc/netdata/edit-config health_alarm_notify.conf -``` +Edit `health_alarm_notify.conf`, changes to this file do not require restarting Netdata: -2. Modify the file as below: -``` -# enable/disable sending alerta notifications -SEND_ALERTA="YES" +1. Set `SEND_ALERTA` to `YES`. +2. set `ALERTA_WEBHOOK_URL` to the API url you defined when you installed the Alerta server. +3. Set `ALERTA_API_KEY` to your API key. + You will need an API key to send messages from any source, if Alerta is configured to use authentication (recommended). To create a new API key: + 1. Go to *Configuration* > *API Keys*. + 2. Create a new API key called "netdata" with `write:alerts` permission. +4. Set `DEFAULT_RECIPIENT_ALERTA` to the default recipient environment you want the alert notifications to be sent to. + All roles will default to this variable if left unconfigured. -# here set your alerta server API url -# this is the API url you defined when installed Alerta server, -# it is the same for all users. Do not include last slash. -ALERTA_WEBHOOK_URL="http://yourserver/alerta/api" +You can then have different recipient environments per **role**, by editing `DEFAULT_RECIPIENT_CUSTOM` with the environment name you want, in the following entries at the bottom of the same file: -# Login with an administrative user to you Alerta server and create an API KEY -# with write permissions. -ALERTA_API_KEY="INSERT_YOUR_API_KEY_HERE" - -# you can define environments in /etc/alertad.conf option ALLOWED_ENVIRONMENTS -# standard environments are Production and Development -# if a role's recipients are not configured, a notification will be send to -# this Environment (empty = do not send a notification for unconfigured roles): -DEFAULT_RECIPIENT_ALERTA="Production" +```conf +role_recipients_alerta[sysadmin]="Systems" +role_recipients_alerta[domainadmin]="Domains" +role_recipients_alerta[dba]="Databases Systems" +role_recipients_alerta[webmaster]="Marketing Development" +role_recipients_alerta[proxyadmin]="Proxy" +role_recipients_alerta[sitemgr]="Sites" ``` -## Test alarms +The values you provide should be defined as environments in `/etc/alertad.conf` option `ALLOWED_ENVIRONMENTS`. -We can test alarms using the standard approach: +An example working configuration would be: -```sh -/opt/netdata/netdata-plugins/plugins.d/alarm-notify.sh test -``` - -> **Note** This script will send 3 alarms. -> Alerta will not show the alerts in the main page, because last alarm is "CLEAR". -> To see the test alarms, you need to select "closed" alarms in the top-right lookup. +```conf +#------------------------------------------------------------------------------ +# alerta (alerta.io) global notification options -For more information see the [Alerta documentation](https://docs.alerta.io) +SEND_ALERTA="YES" +ALERTA_WEBHOOK_URL="http://yourserver/alerta/api" +ALERTA_API_KEY="INSERT_YOUR_API_KEY_HERE" +DEFAULT_RECIPIENT_ALERTA="Production" +``` +## Test the notification method +To test this alert notification method refer to the ["Testing Alert Notifications"](https://github.com/netdata/netdata/blob/master/health/notifications/README.md#testing-alert-notifications) section of the Agent alert notifications page. |