blob: 6a81ad1d727fbcf49d8eadb20c53f46af6bd7780 (
plain)
1
2
3
4
5
6
7
8
9
10
11
12
13
14
15
16
17
18
19
20
21
22
23
24
25
26
27
28
29
30
31
32
33
34
35
36
37
38
39
40
41
42
43
44
45
46
47
48
49
|
# Add RocketChat notification configuration
From the Cloud interface, you can manage your space's notification settings and from these you can add a specific configuration to get notifications delivered on RocketChat.
## Prerequisites
To add RocketChat notification configurations you need:
- A Netdata Cloud account
- Access to the space as an **administrator**
- Space needs to be on **Business** plan or higher
- Have a RocketChat app on your workspace to receive the webhooks, for more details check [how to configure this on RocketChat](#settings-on-rocketchat)
## Steps
1. Click on the **Space settings** cog (located above your profile icon)
1. Click on the **Notification** tab
1. Click on the **+ Add configuration** button (near the top-right corner of your screen)
1. On the **RocketChat** card click on **+ Add**
1. A modal will be presented to you to enter the required details to enable the configuration:
1. **Notification settings** are Netdata specific settings
- Configuration name - you can optionally provide a name for your configuration you can easily refer to it
- Rooms - by specifying a list of Rooms you are select to which nodes or areas of your infrastructure you want to be notified using this configuration
- Notification - you specify which notifications you want to be notified using this configuration: All Alerts and unreachable, All Alerts, Critical only
1. **Integration configuration** are the specific notification integration required settings, which vary by notification method. For RocketChat:
- Webhook URL - URL provided on RocketChat for the channel you want to receive your notifications. For more details check [how to configure this on RocketChat](#settings-on-rocketchat)
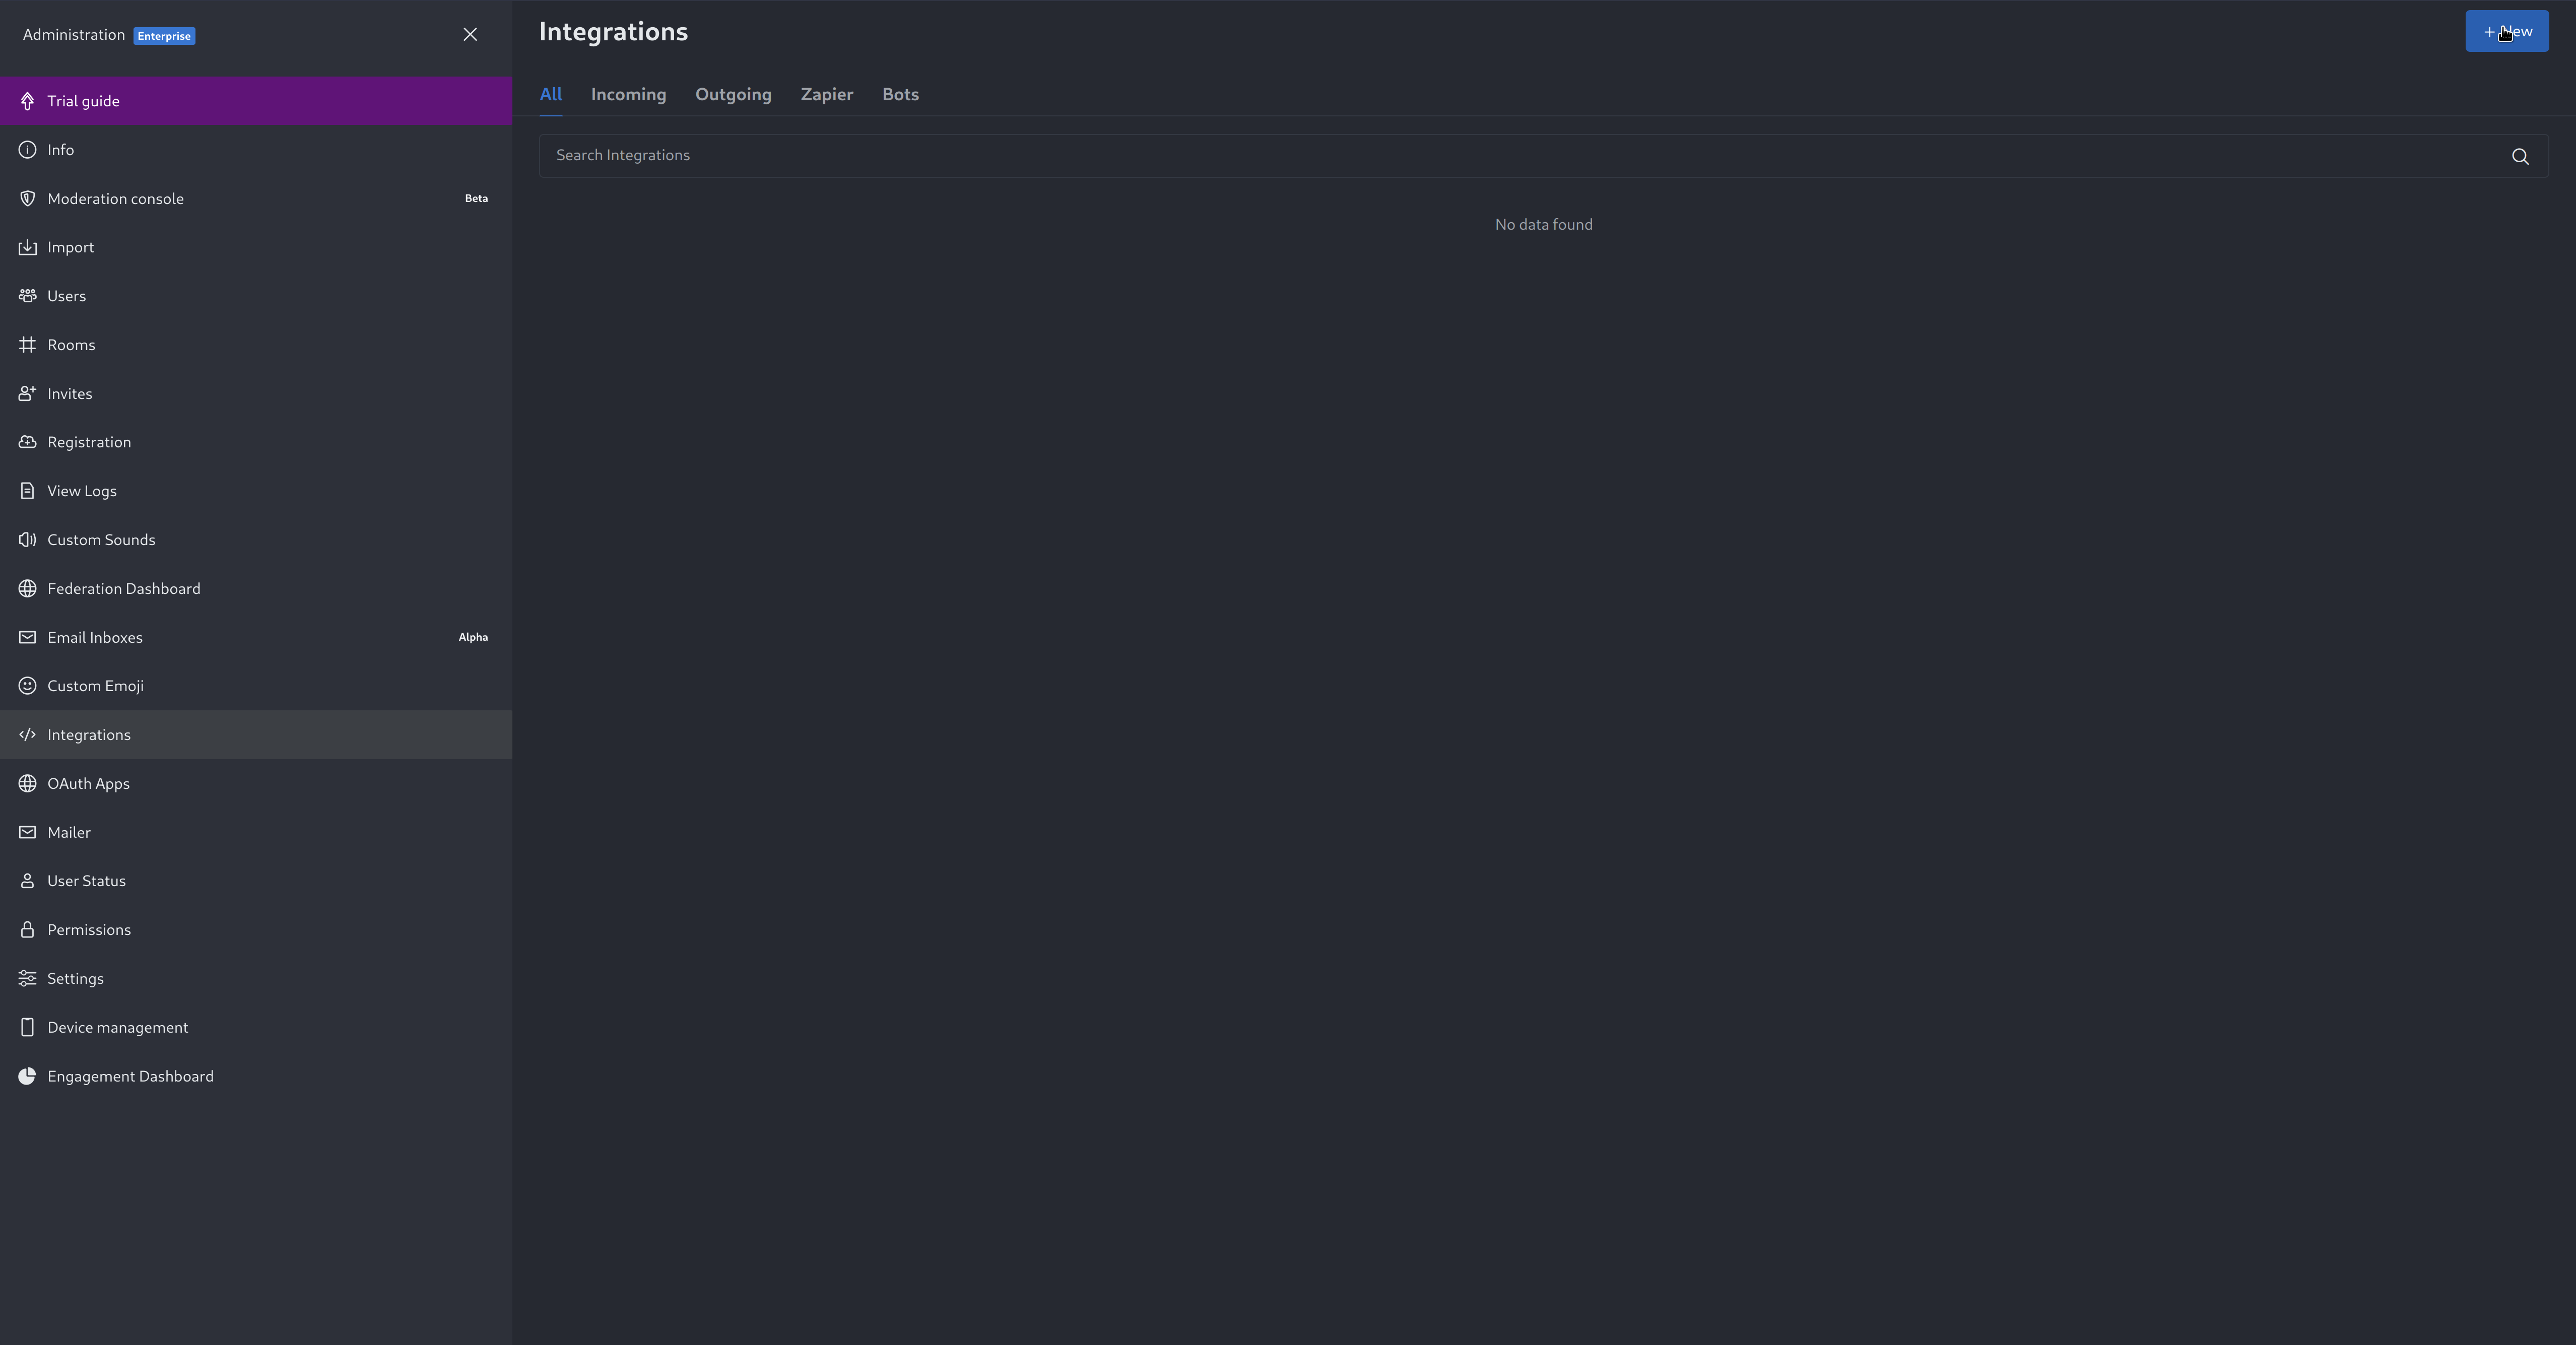
## Settings on RocketChat
To enable the webhook integrations on RocketChat you need:
1. In RocketChat, Navigate to Administration > Workspace > Integrations.
2. Click +New at the top right corner.
3. For more details about each parameter, check [create-a-new-incoming-webhook](https://docs.rocket.chat/use-rocket.chat/workspace-administration/integrations#create-a-new-incoming-webhook).
4. After configuring integration, click Save.
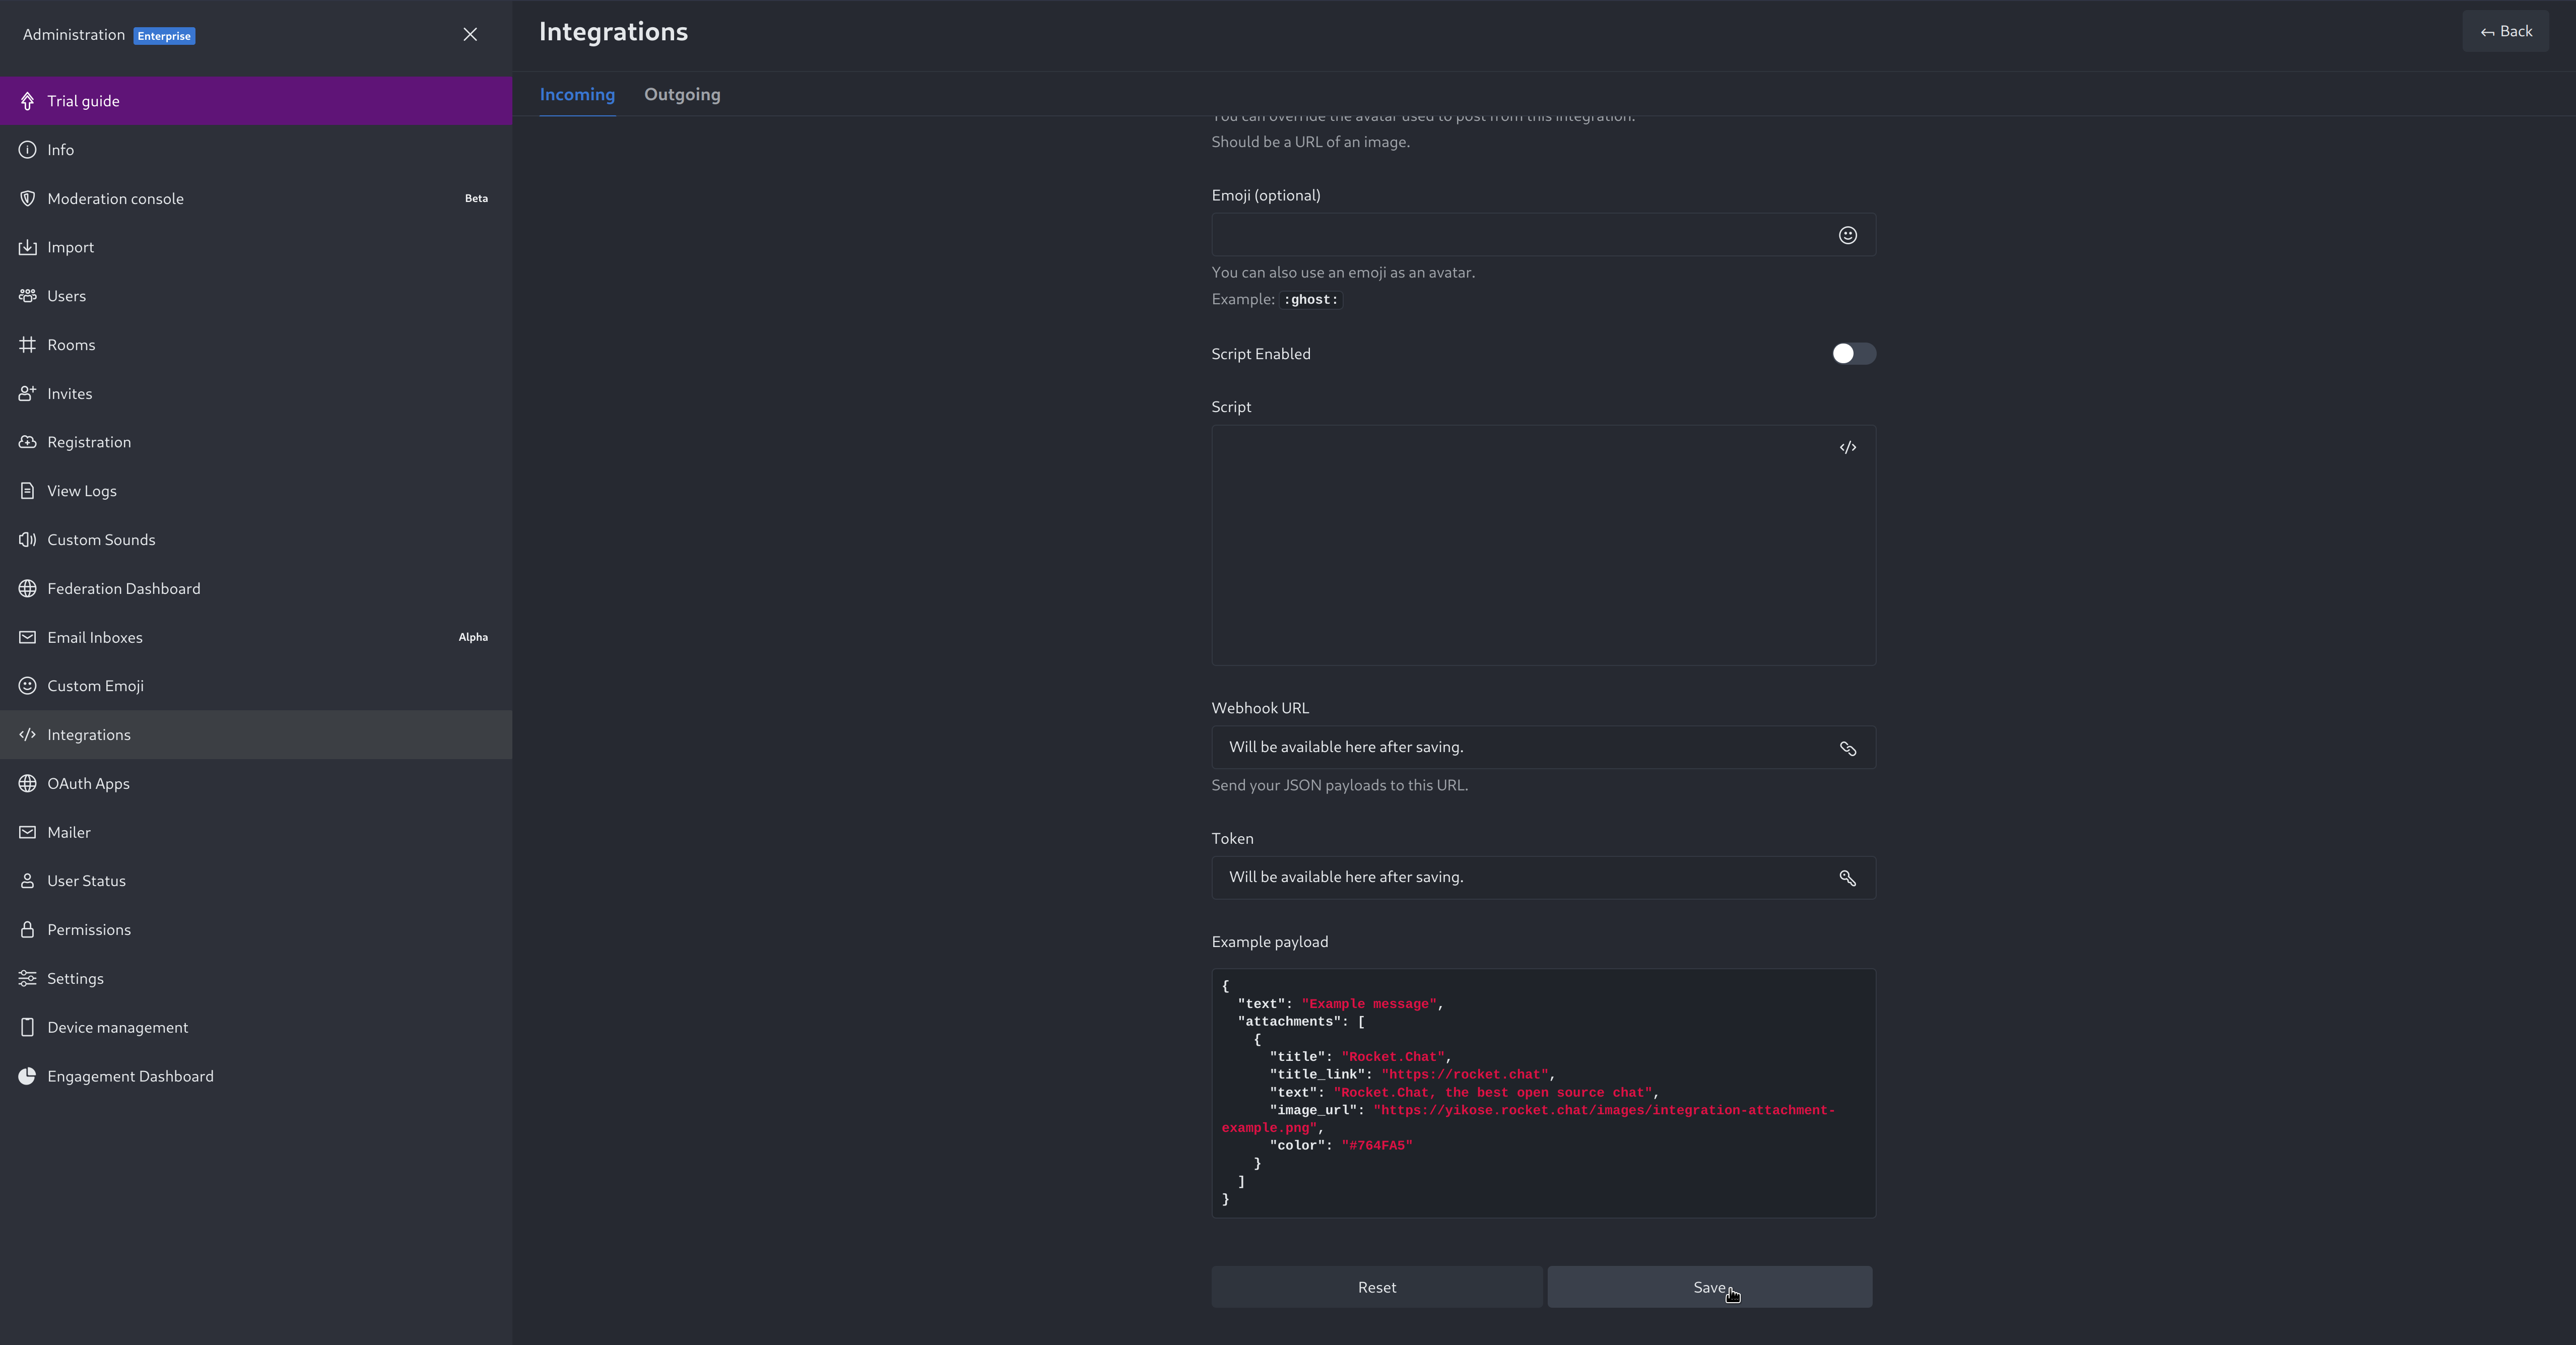
4. You will end up with a webhook endpoint that looks like so:
```
https://your-server.rocket.chat/hooks/YYYYYYYYYYYYYYYYYYYYYYYY/XXXXXXXXXXXXXXXXXXXXXXXXXXXXXXXXXXXXXXXXXXXXXXXX
```
- Treat this endpoint as a secret. Anyone who has it will be able to post messages to your RocketChat instance.
For more details please check RocketChat's article [Incoming webhooks for RocketChat](https://docs.rocket.chat/use-rocket.chat/workspace-administration/integrations/).
|
